Welcome to Verified
Welcome! At Verified, we help companies like yours onboard real people faster. We provide 4 products that can be combined like puzzle pieces:
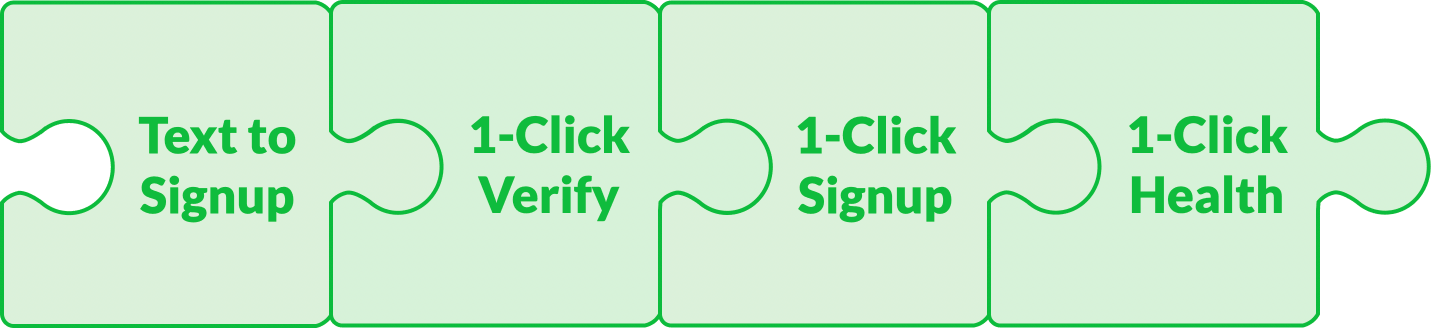
Text to Signup is a marketing superpower. It lets you create magical ads that convert verified users instantly, both online and offline. Try it yourself here!
1-Click Verify is the easiest way to verify a user's phone number. This allows you to then easily take the user into 1-Click Signup and 1-Click Health.
1-Click Signup is the fastest way to sign up new users. From just a phone number, Verified can autofill a user's data so they can share it in less than 10 seconds. Try it yourself here!
1-Click Health autofills health insurance data for a user, so they can share it in less than 30 seconds. When used after 1-Click Signup, the user doesn't have to input any additional info to have their insurance autofilled!
When multiple of these products are combined, they provide a full stack growth solution:
- Text to Signup is for marketing: it helps you make users want to sign up.
- 1-Click Verify and 1-Click Signup are for onboarding: they help you convert users who already want to sign up.
- 1-Click Health is for healthcare: it helps you (if you're a healthcare company) turn users who signed up into active patients.
If you have any questions, book a call with us or email us at Support@Verified.inc anytime.
We're excited to support your growth! ✅