API Integration
| Time to Complete | 1-2 hours |
|---|---|
| Time to Test and Deploy | 2-4 hours |
| Skills Required | Make API calls, build UX |
Complete the 1-Click Verify Setup guide before following this API Integration guide.
Please do all development work and testing against our Sandbox environment, which returns mock data. You can use our Production environment when you're ready to go live.
1. Try autofill channel.
a. Check if autofill is available.
Determine the IP address of the user's device (in IPv6 format). Pass it to your server, and include it as the value of the deviceIp query parameter, calling GET /1-click/verifications/channels?deviceIp={deviceIp}.
You must determine the IPv6 (not IPv4) address of the user's device.
The response body will indicate which channels are available:
{
   "channels":
        "autofill": {
            "available": boolean, // brandApproved && deviceIpEligible
            "brandApproved": boolean,
            "deviceIpEligible": boolean
        },
        "sms": {
            "available": boolean
        },
        // Coming soon
        // "email": {
        //     "available": boolean
        // }
   }
}
If channels.autofill.available is true, proceed to step 1b to autofill the user's verified phone number. If it's false, jump to step 2 to fall back to the SMS channel.
b. (if available) Autofill verified phone number.
Sometime before you make the API call described in the paragraph below, you must have the user agree to your terms, and those terms must include this 1-Click Verify autofill channel consent language:
You authorize your wireless carrier to use or disclose information about your account and your wireless device, if available, to
{Brand Name}or its service providers for the duration of your business relationship, solely to help us identify you or your wireless device and to prevent fraud. See our Privacy Policy to see how we treat your data.
- Replace
{Brand Name}with your brand name.
For example, as our User Experience guide describes here, you can use a button with language that indicates that the user agrees to your terms by continuing:
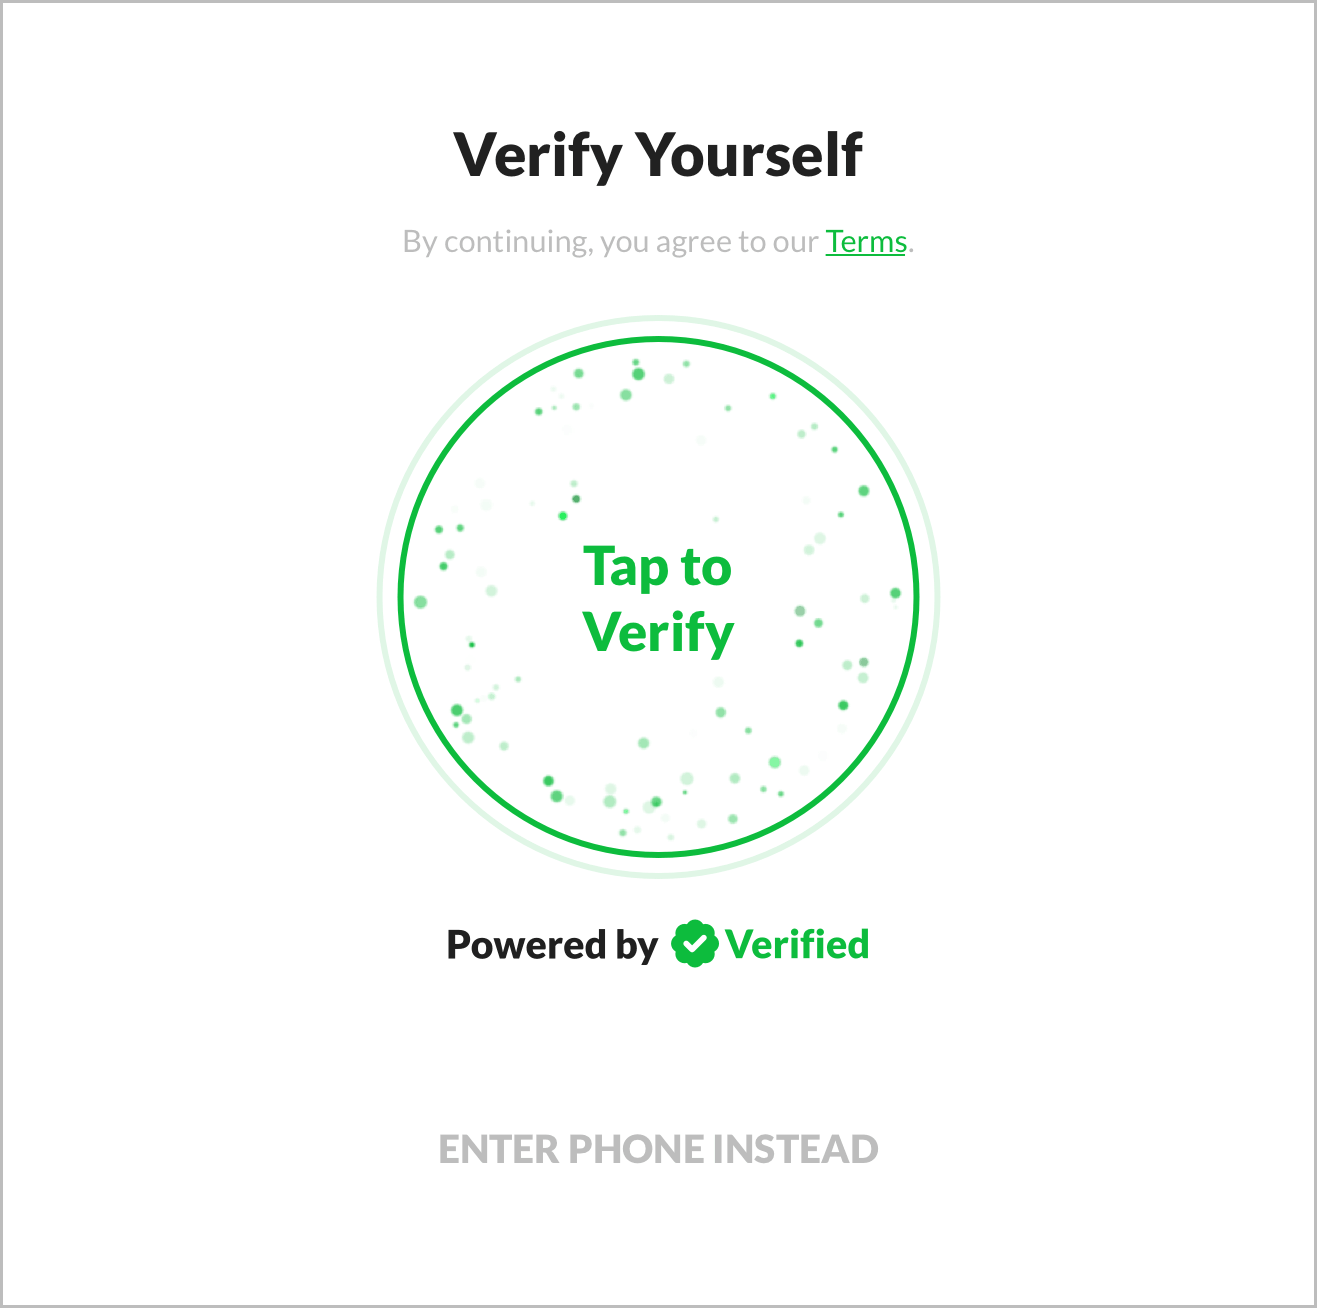 Terms consent language, button, and the green variant of the Powered by Verified graphic
If you have earlier steps in your flow, you can use one of those as the trigger instead of using a dedicated autofill button. For example, if you start by asking the user to enter their email, you can include the terms consent language on that step and then trigger verified phone autofill as soon they enter their email.
To trigger the autofill, call POST /1-click/verifications, using autofill for channel and the user's device IP address from the previous step for deviceIp:
{
    "channel": "autofill",
    "deviceIp": "::1"
}
Never use Verified API keys client side. Only use them server side. Verified API keys allow you to source sensitive data about users, so you must keep them secure. If you use a Verified API key client side, our firewall will block your request, and you'll get this firewall error.
If autofill succeeds, the response body will contain the user's verified phone number — like magic! You're done.
{
    "uuid": "6232bdb2-5b92-405a-bf39-6147aef70ac1",
    "phone": "+12125550010",
    "channel": "autofill",
    "status": "verified",
    "verified": true,
    "createdAt": 1760053690000,
    "expiresAt": 1760053990000,
    "attemptsRemaining": 3
}
We use frontier technology to autofill and verify the user's phone number directly from the SIM/eSIM in their device, without any need for user input or an SMS verification code. It's both far easier for the user and far more secure.
Although we're rapidly expanding coverage, 1-Click Verify autofill is currently only available a minority of the time. The exact coverage will depend on your use case — the main factors being whether a user is on WiFi vs. cell data and whether their phone carrier supports autofill — but we typically see it work for about 1 in 6 sessions. However, using it for even a small percentage of users substantially boosts overall conversion (and user delight!) in onboarding flows, so we highly recommend it!
2. (if necessary) Use SMS channel.
If you aren't able to autofill a user's verified phone number, you'll need to have them enter and verify it manually with an SMS verification code.
a. Prompt user for phone number.
Currently, we only support US mobile phone numbers. You'll need to pass these to our API in E.164 format. This is the +1 country code with a 10-digit subscriber code appended to it, for example +12125550010.
We recommend using a phone number input that auto submits when the user enters 10 digits. (See the Phone screen of the 1-Click Signup User Experience guide for full details.)
You must include this 1-Click Verify SMS channel consent language:
I authorize Verified to send me SMS verification texts at the number provided. Msg & Data rates may apply.
- Link "Verified" to https://verified.inc and make it underlined and a different color than the rest of the text (so the user knows it's a link).
- Make this visible to the user, somewhere on the page, before you call
POST /1-click/verifications(step 2b).
See our Demo for an example of this.
b. Start verification flow.
Call POST /1-click/verifications, setting channel to sms and including the user's phone:
{
    "channel": "sms",
    "phone": "+12125550010"
}
The response body will contain a uuid that you'll use in the next step:
{
    "uuid": "f5251850-496c-48cf-a4bd-d9d5ace22689",
    "phone": "+12125550010",
    "channel": "sms",
    "status": "pending",
    "verified": false,
    "createdAt": 1760053695000,
    "expiresAt": 1760053995000,
    "attemptsRemaining": 3
}
c. Deliver verification message.
Call POST /1-click/verifications/{uuid}/deliver with the uuid from the previous step.
This will trigger Verified to send a verification SMS to the user's phone number. The response body will indicate that the messaging is being sent:
{
    "uuid": "f5251850-496c-48cf-a4bd-d9d5ace22689",
    "phone": "+12125550010",
    "channel": "sms",
    "status": "sending",
    "verified": false,
    "createdAt": 1760053695000,
    "expiresAt": 1760053995000,
    "attemptsRemaining": 3
}
d. Prompt user for verification code.
We recommend using a 6 separate single digit inputs that auto submit when the user enters 6 digits. (See the Verification Code screen of the 1-Click Signup User Experience guide for full details.)
e. Verify verification code.
Call POST /1-click/verifications/{uuid}/verify with the uuid from the previous steps, including what the user entered in the previous step as code:
{
    "code": "111111"
}
This will trigger Verified to check the user's input against the verification code for this verification flow. The response body will indicate whether or not this check succeeds in the verified attribute:
{
    "uuid": "f5251850-496c-48cf-a4bd-d9d5ace22689",
    "phone": "+12125550010",
    "channel": "sms"
    "status": "verified",
    "verified": true
    "createdAt": 1760053695000,
    "expiresAt": 1760053995000,
    "deliveredAt": 1760053699054,
    "verifiedAt": 1760053705000,
    "attemptsRemaining": 2
}
f. (optional) Retrieve verification details.
The verification details are included in the response body of the previous step. But if you ever want to retrieve these details again, you can do so by calling GET /1-click/verifications/{uuid} with the uuid from the previous steps.
The response body will contain the 1ClickVerificationEntity:
{
    "uuid": "f5251850-496c-48cf-a4bd-d9d5ace22689",
    "phone": "+12125550010",
    "channel": "sms",
    "status": "verified",
    "createdAt": 1760053695000,
    "expiresAt": 1760053995000,
    "verifiedAt": 1760053705000
}
Handle Errors
To ensure your integration is robust, handle all the 1-Click Verify errors. Most errors should be handled simply by starting a new 1-Click Verify flow.
Go Live!
When you're ready to go live, you made need to request approval for Production access, depending on how you're using other Verified products:
- Go to the Brand Details page for your brand in the Verified Dashboard.
- Click the Production tab in the upper right, and make sure your brand settings are configured as you intend them to be.
- Click the Request Approval button under the API Keys section.
- Complete the steps listed in the dialog.
- Click the Submit Request button.
Swap Sandbox for Production
Once you have Production access, just swap Sandbox for Production:
- Swap your Sandbox API key for your Production API key.
- Swap the Sandbox base URL for the Production base URL.
Then you'll be live with 1-Click Verify! ✅